Finding the right fit in a men's dress shirt can be the difference between looking sharp and feeling uncomfortable. In this 2025 guide, I’ll walk you through exactly how to measure for a men's dress shirt, just like a tailor would. Whether you're buying a custom dress shirt or shopping online, knowing your measurements ensures your shirt feels as good as it looks. Let’s begin by understanding why the fit matters more than you might think.
Why Fit Matters: The Importance of a Well-Measured Dress Shirt
First Impressions and Professional Appearance
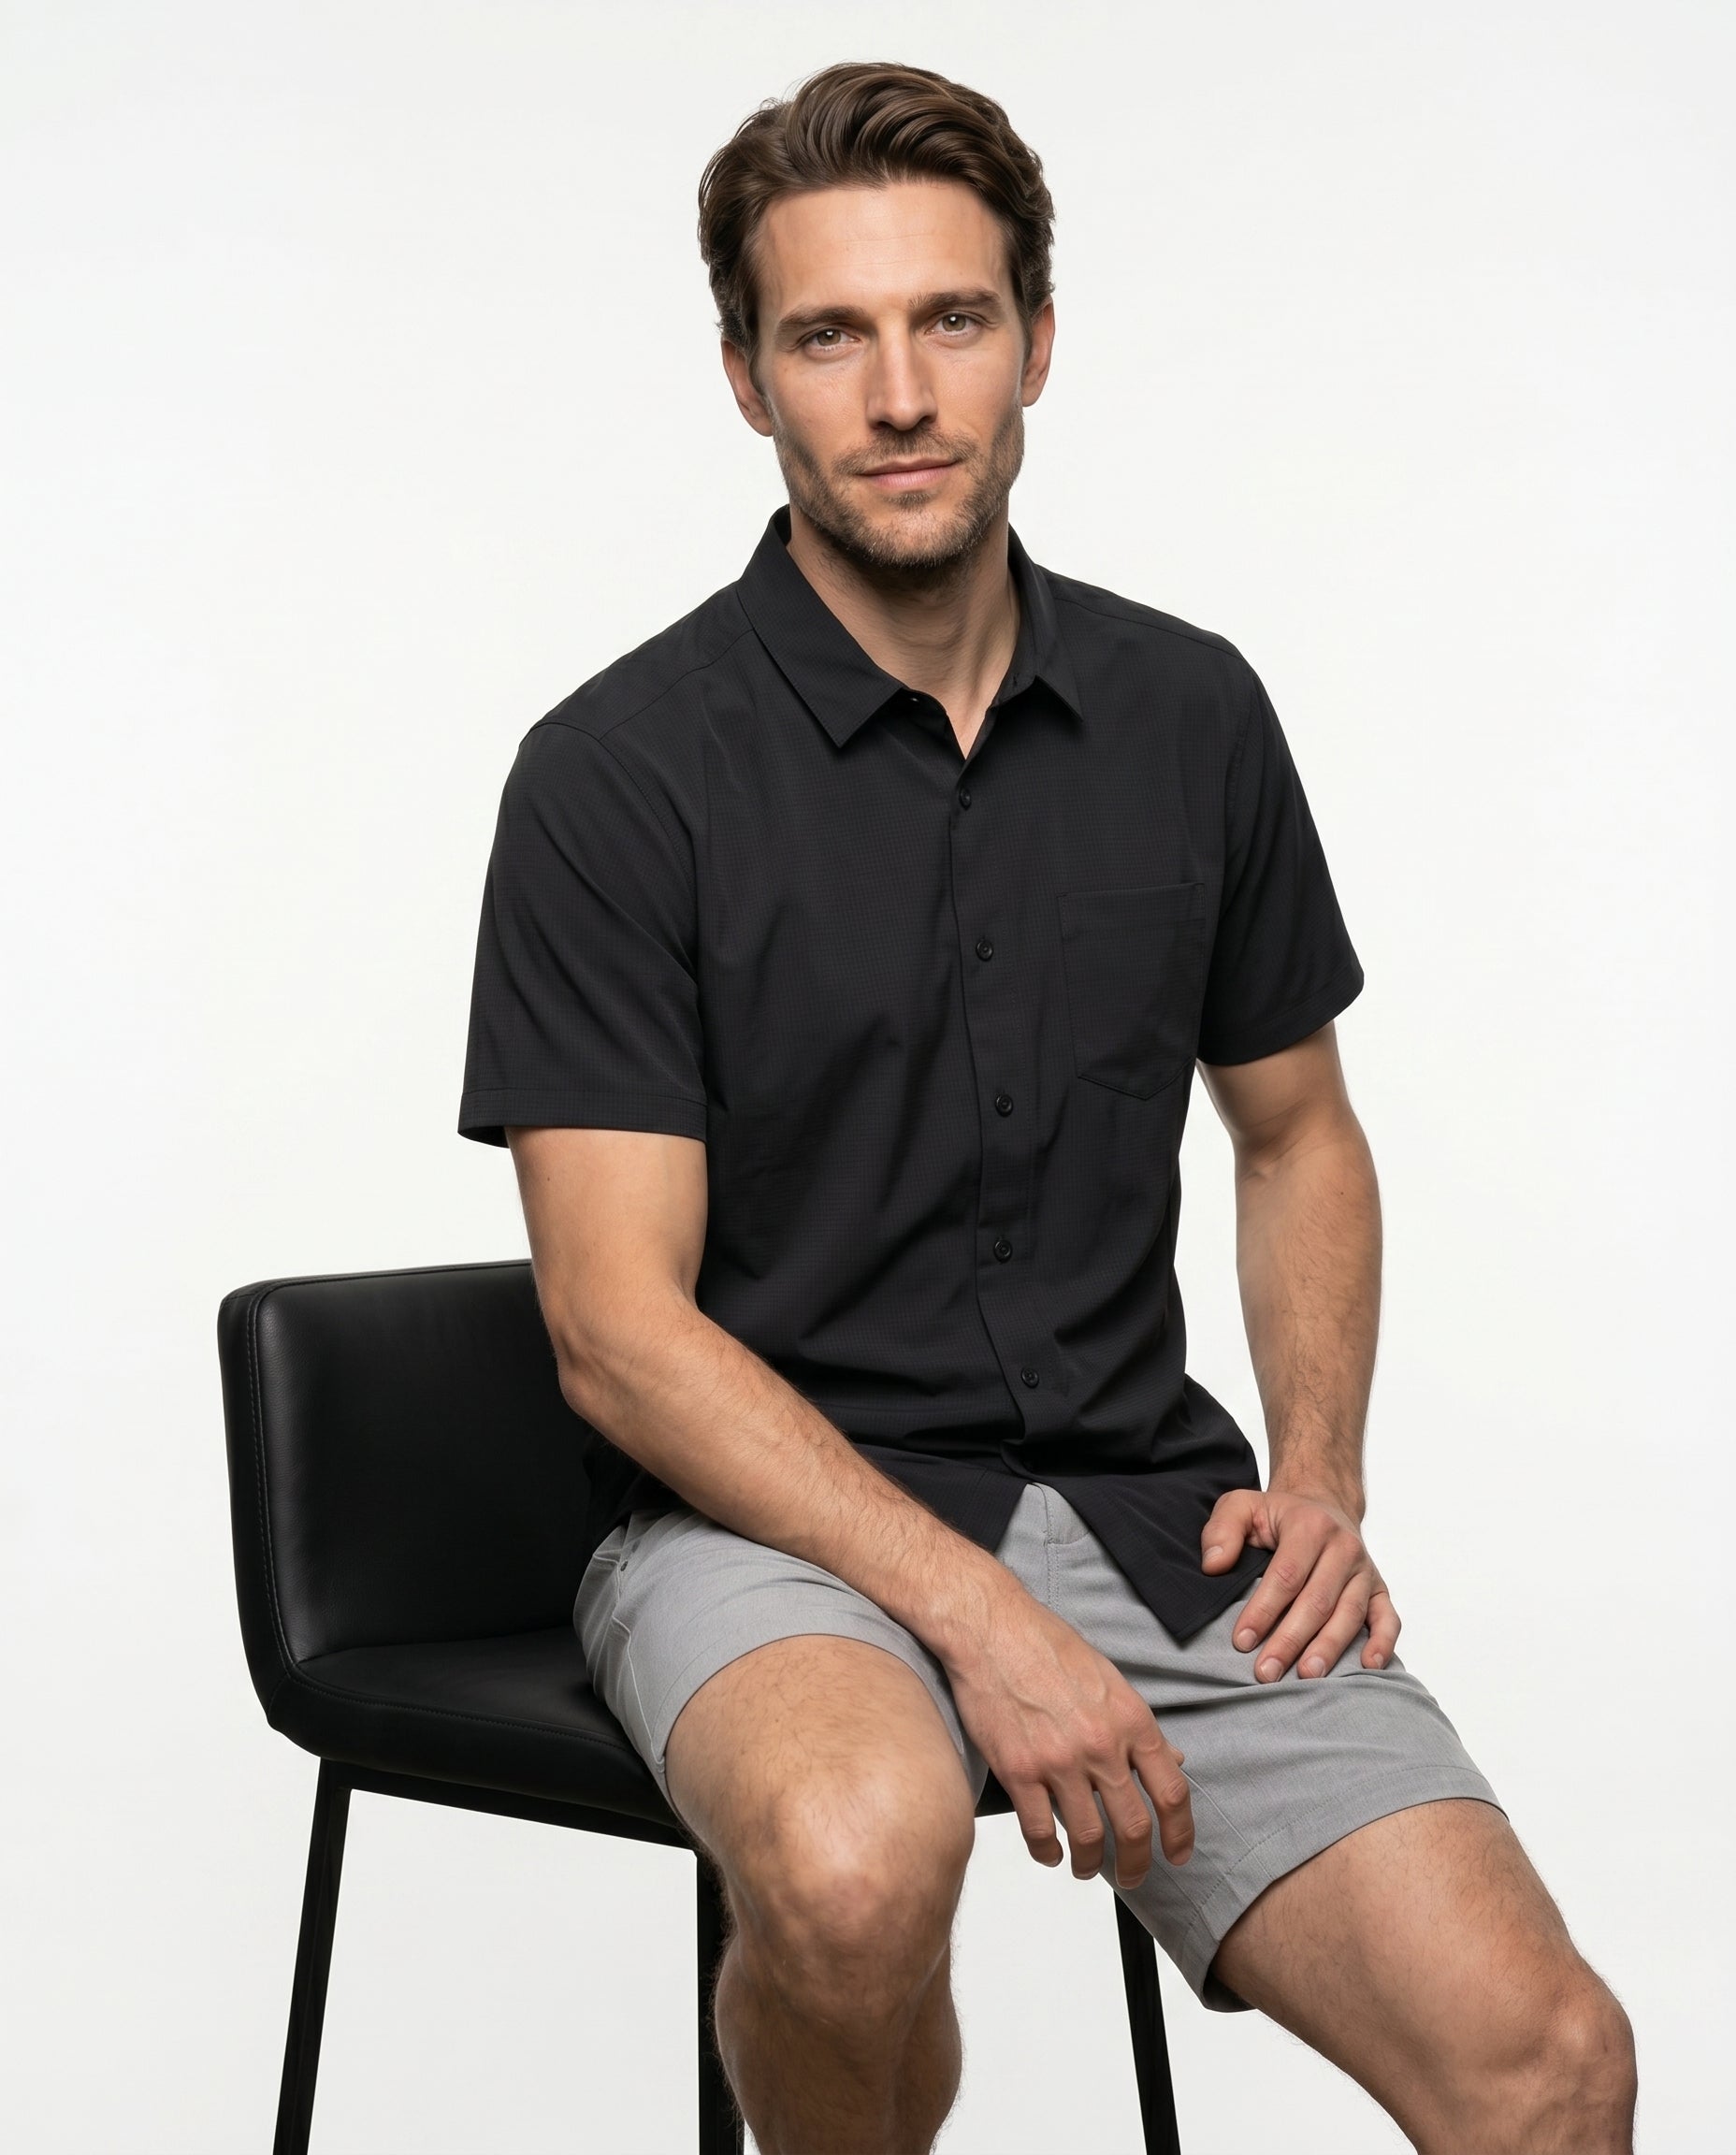
Your dress shirt speaks before you do. When a shirt fits well, snug at the collar, smooth across the chest, and just the right length in the sleeves, it gives you a clean, confident look. Whether you're at a job interview, business meeting, or a formal event, a well-fitted shirt makes a strong impression. It says you care about the details, and it elevates your entire outfit.
Comfort vs Style: Finding the Balance
A lot of people think that style means tight and uncomfortable, but that’s not true. The best fit balances style and comfort. You should be able to move your arms, turn your neck, and sit down without feeling restricted. That’s why we measure your body instead of guessing based on tag sizes. When the measurements are done right, your shirt works with your body, not against it.
Tailored vs Off-the-Rack: What’s the Difference?
Off-the-rack shirts come in standard sizes like “Medium” or “Large,” but no two bodies are the same. That’s why they often feel too tight in one spot and too loose in another. A tailored shirt, on the other hand, is made using your exact body measurements—like neck size, sleeve length, and shoulder width. This ensures a better fit, better posture, and a polished look that feels like it was made just for you, because it was.
Tools You’ll Need to Measure Accurately
Before you start measuring for your dress shirt, having the right tools will make all the difference. Just like a tailor, you want precision but it doesn’t have to be complicated.
Soft Measuring Tape
A soft, flexible measuring tape is essential. This is the same type we tailors use, made of cloth or plastic, not the rigid kind used in construction. It wraps smoothly around curves and contours, giving accurate body measurements without pinching the skin. Make sure it has both inches and centimeters printed clearly. You’ll use this tape for every key point: neck, chest, arms, and more.
Mirror or a Partner for Accuracy
Some measurements are hard to take on your own especially sleeve length and shoulders. That’s why it’s helpful to have a partner, or at the very least, a full-length mirror. A second pair of hands ensures the tape is level and in the right spot. If you're solo, take your time, double-check in the mirror, and measure twice if needed.
A Well-Fitting Shirt for Reference (Optional)
If you already have a dress shirt that fits you well, use it as a reference. Lay it flat and measure it to compare with your body measurements. This method helps if you're not comfortable measuring your body directly. It’s also a good way to double-check sleeve or shirt length.
Key Body Measurements for Men's Dress Shirts
Now let’s get into the most important part, measuring your body correctly. These are the standard measurements a tailor takes when crafting a custom dress shirt. Follow these steps closely and write down your numbers.
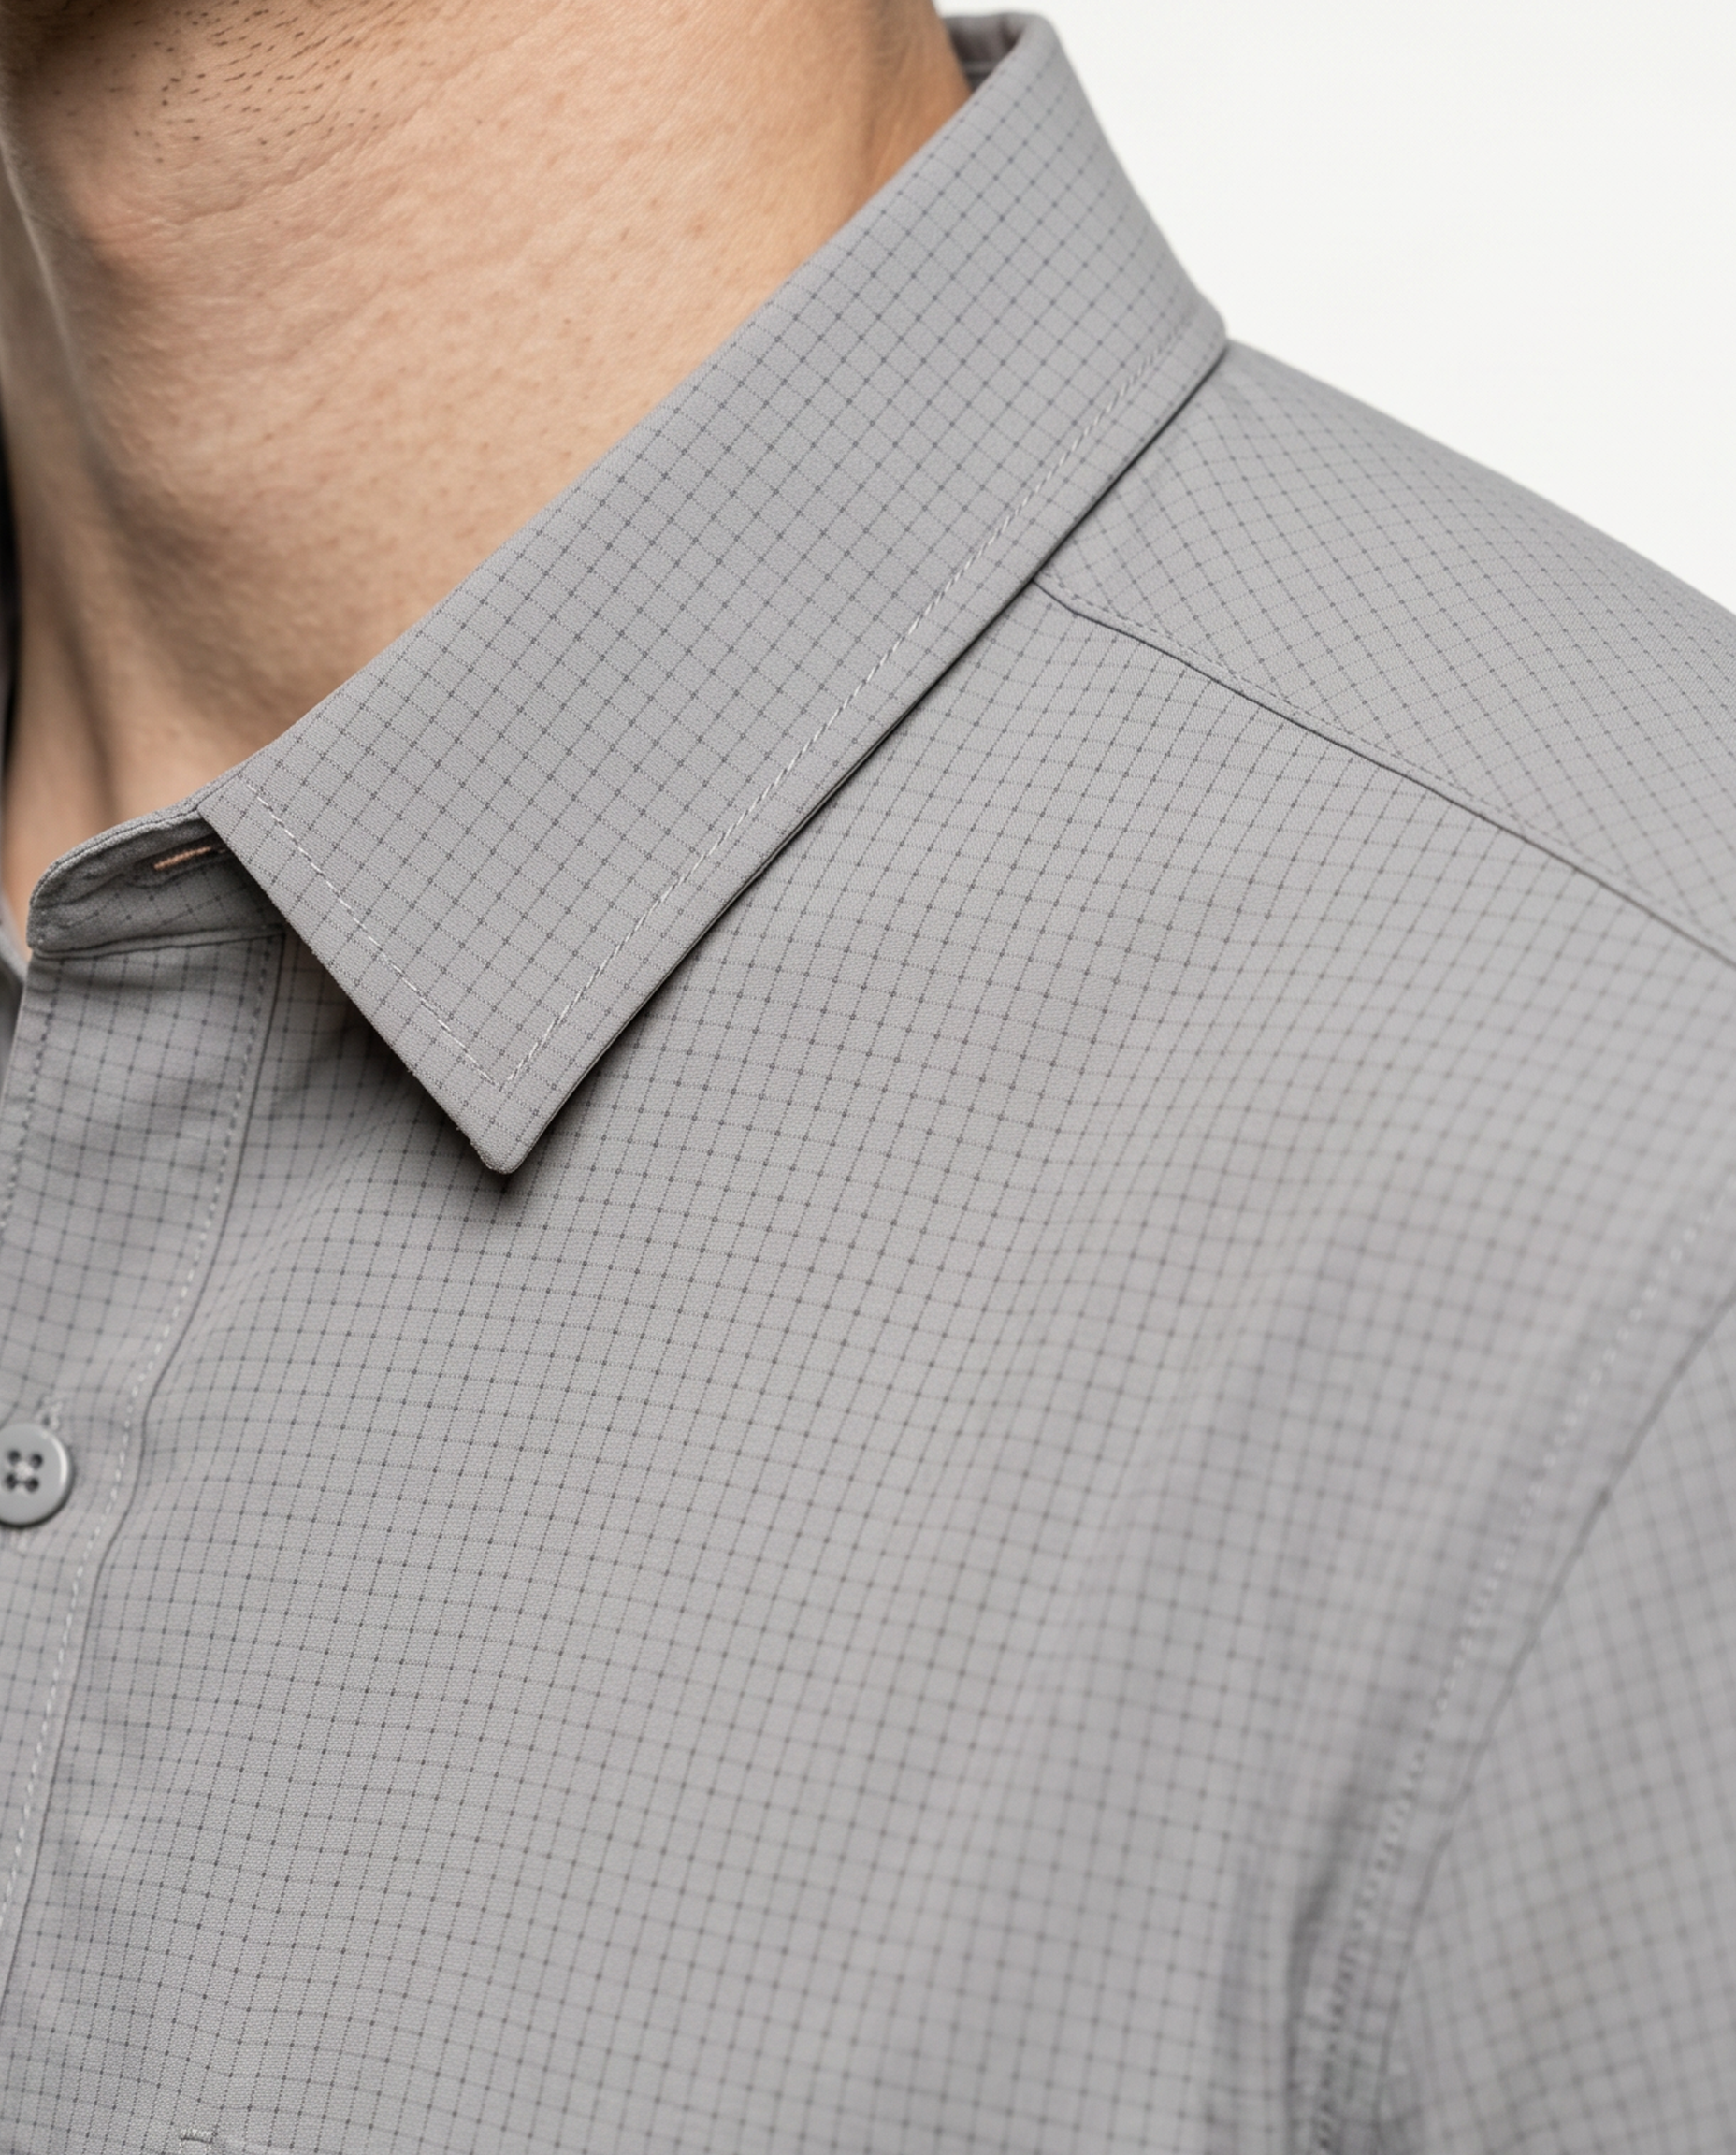
Neck (Collar) Size
Wrap the measuring tape around the base of your neck, where your shirt collar usually sits. It should rest just below your Adam’s apple. Keep the tape snug but not tight. You should be able to slide one or two fingers between the tape and your skin. This ensures comfort when the collar is buttoned. Avoid adding extra space yourself, most shirt brands already allow for a bit of breathing room.
Sleeve Length (With Arm Slightly Bent)
To get your sleeve length, start from the center of the back of your neck. Run the tape over your shoulder, down your arm, and stop at the wrist bone, specifically, where the cuff would sit. Keep your arm slightly bent, like you’re resting it on a table. This gives a natural measurement that allows for comfortable movement in the finished shirt. It’s best to have someone help with this step.
Chest and Shoulder Width
Stand straight and relax your chest. Wrap the measuring tape around the fullest part of your chest, just under your armpits. Make sure the tape is flat and even all the way around, don’t puff out your chest. For shoulder width, measure straight across the top of your back from one shoulder bone to the other. This determines how the shirt sits across your upper body and ensures it doesn’t feel too tight or too loose.
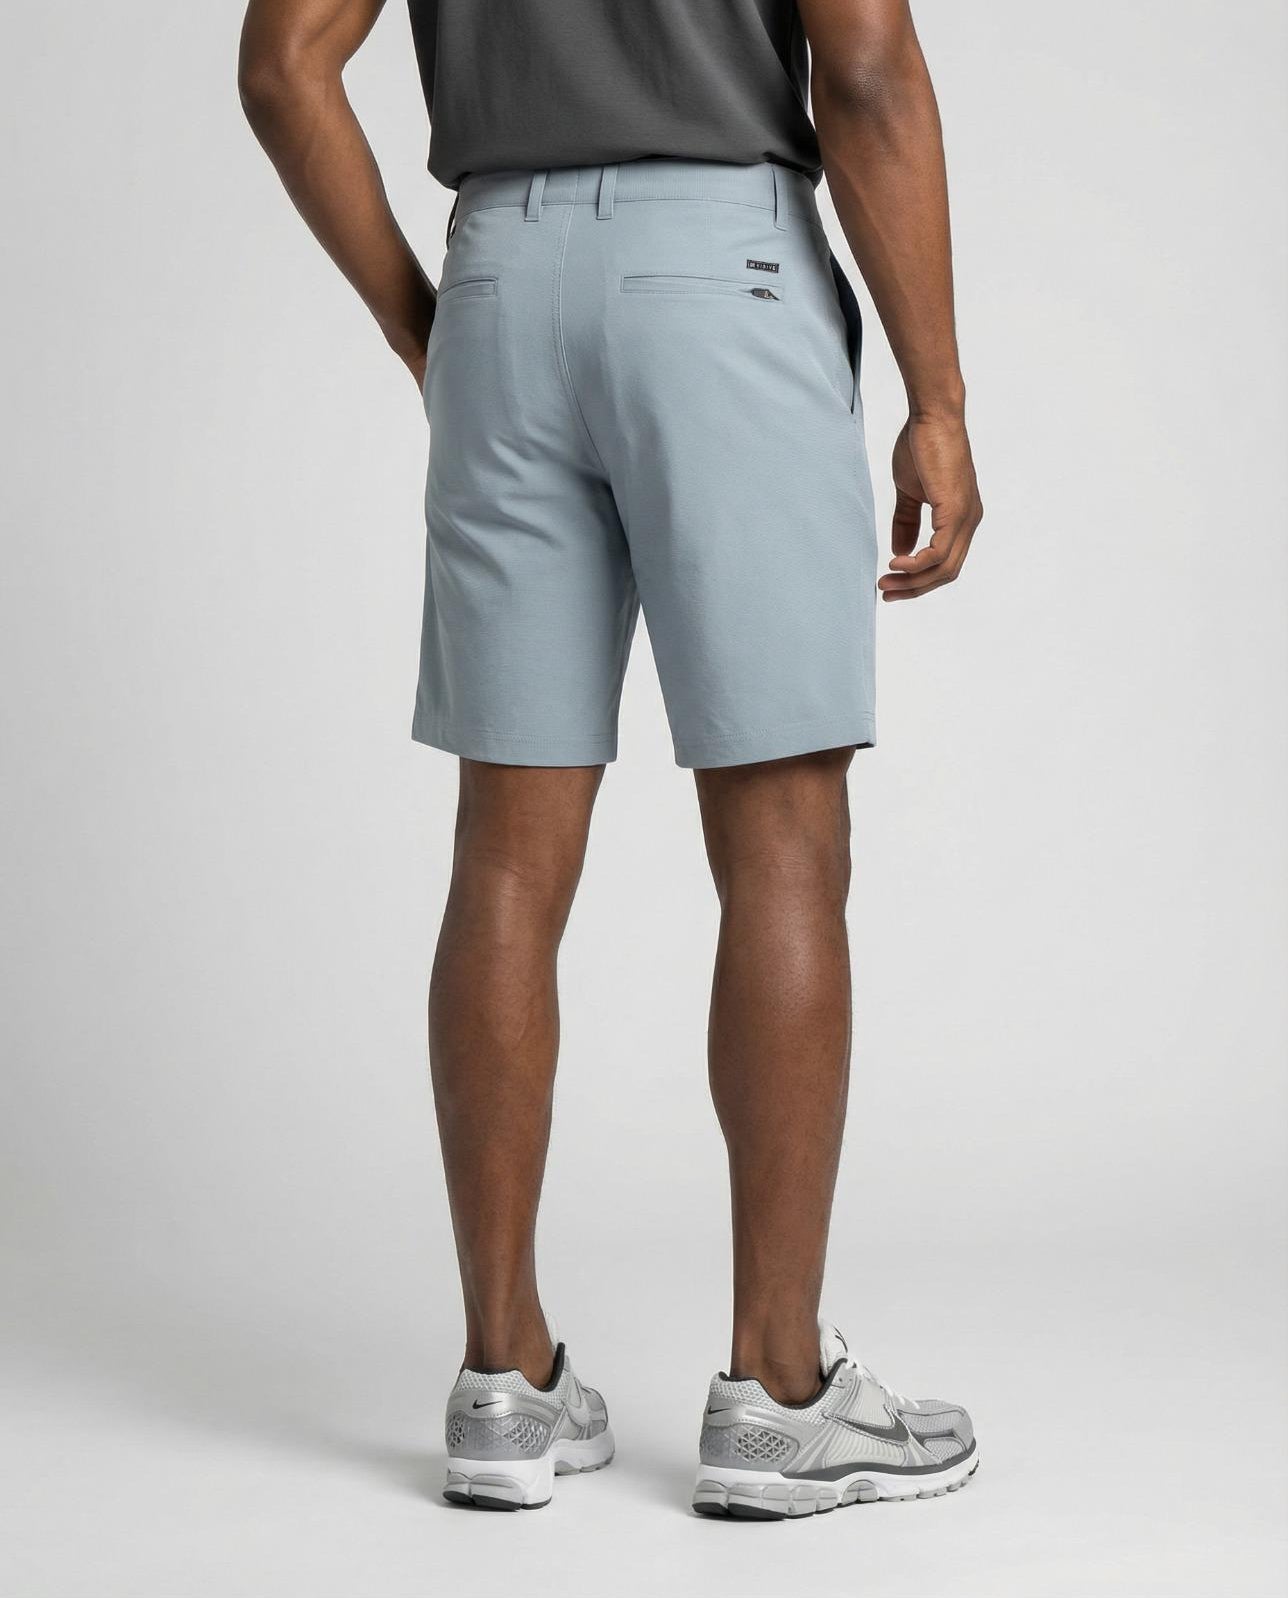
Waist and Hip Measurements
Next, measure around your natural waistline, usually just above the belly button. Don’t suck in your stomach or hold your breath; you want a realistic, comfortable fit. For hips, place the tape around the widest part of your hips and seat, generally around the top of your buttocks. This helps especially for tailored or slim-fit shirts that taper near the waist and hips.
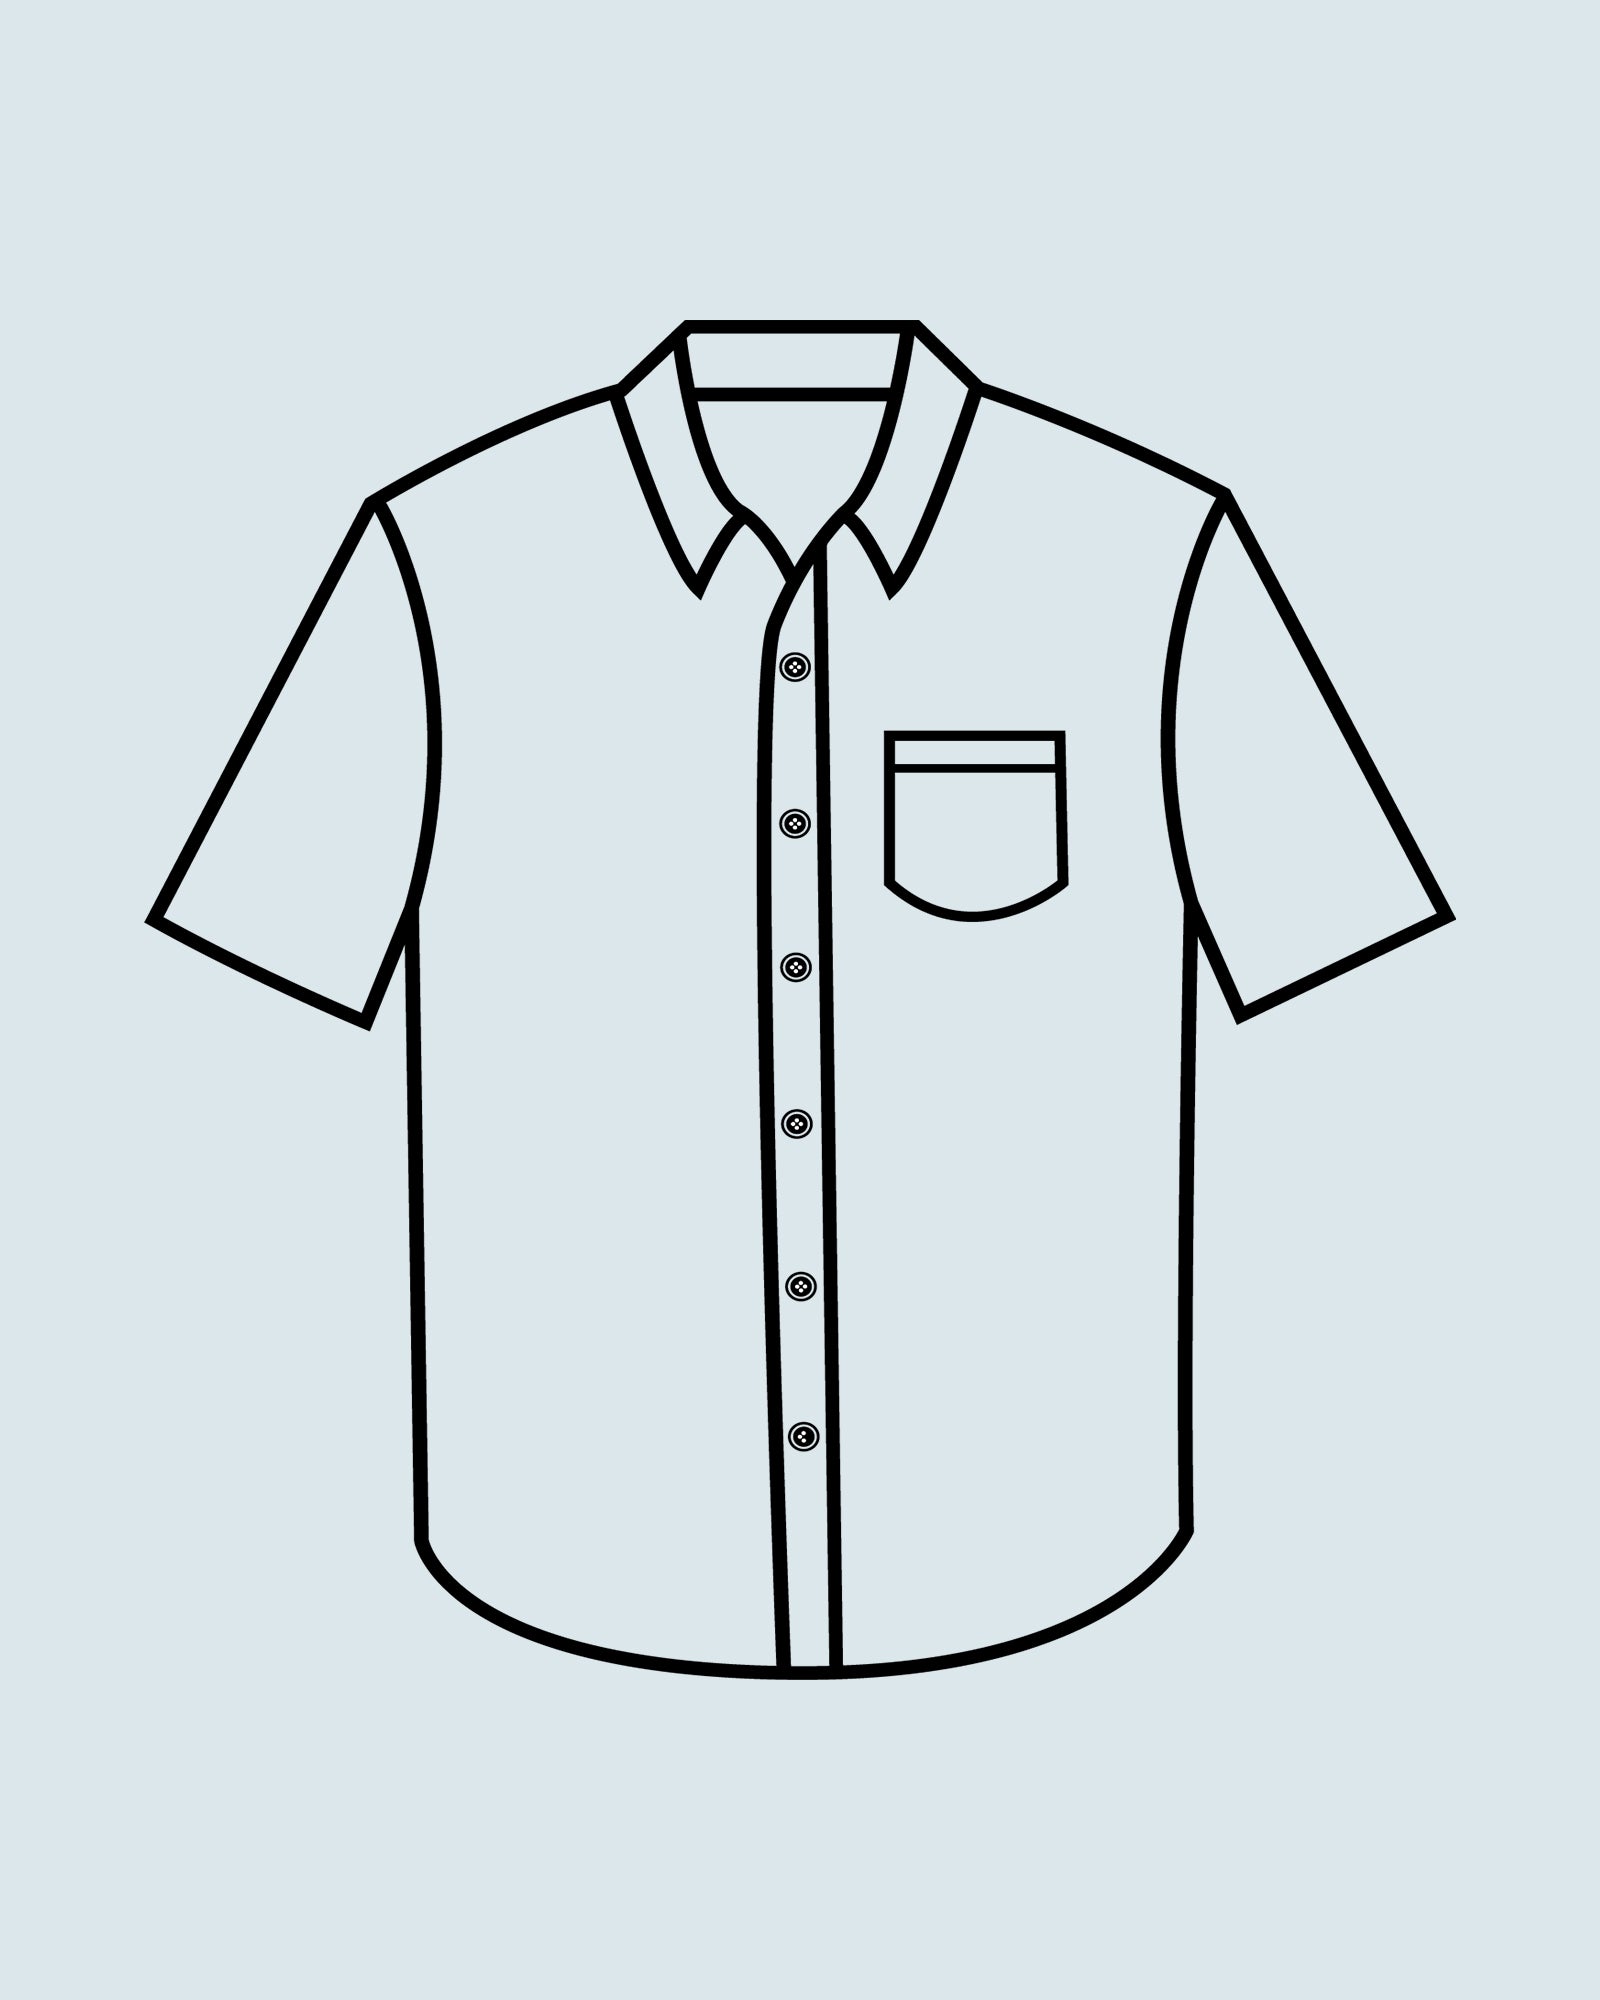
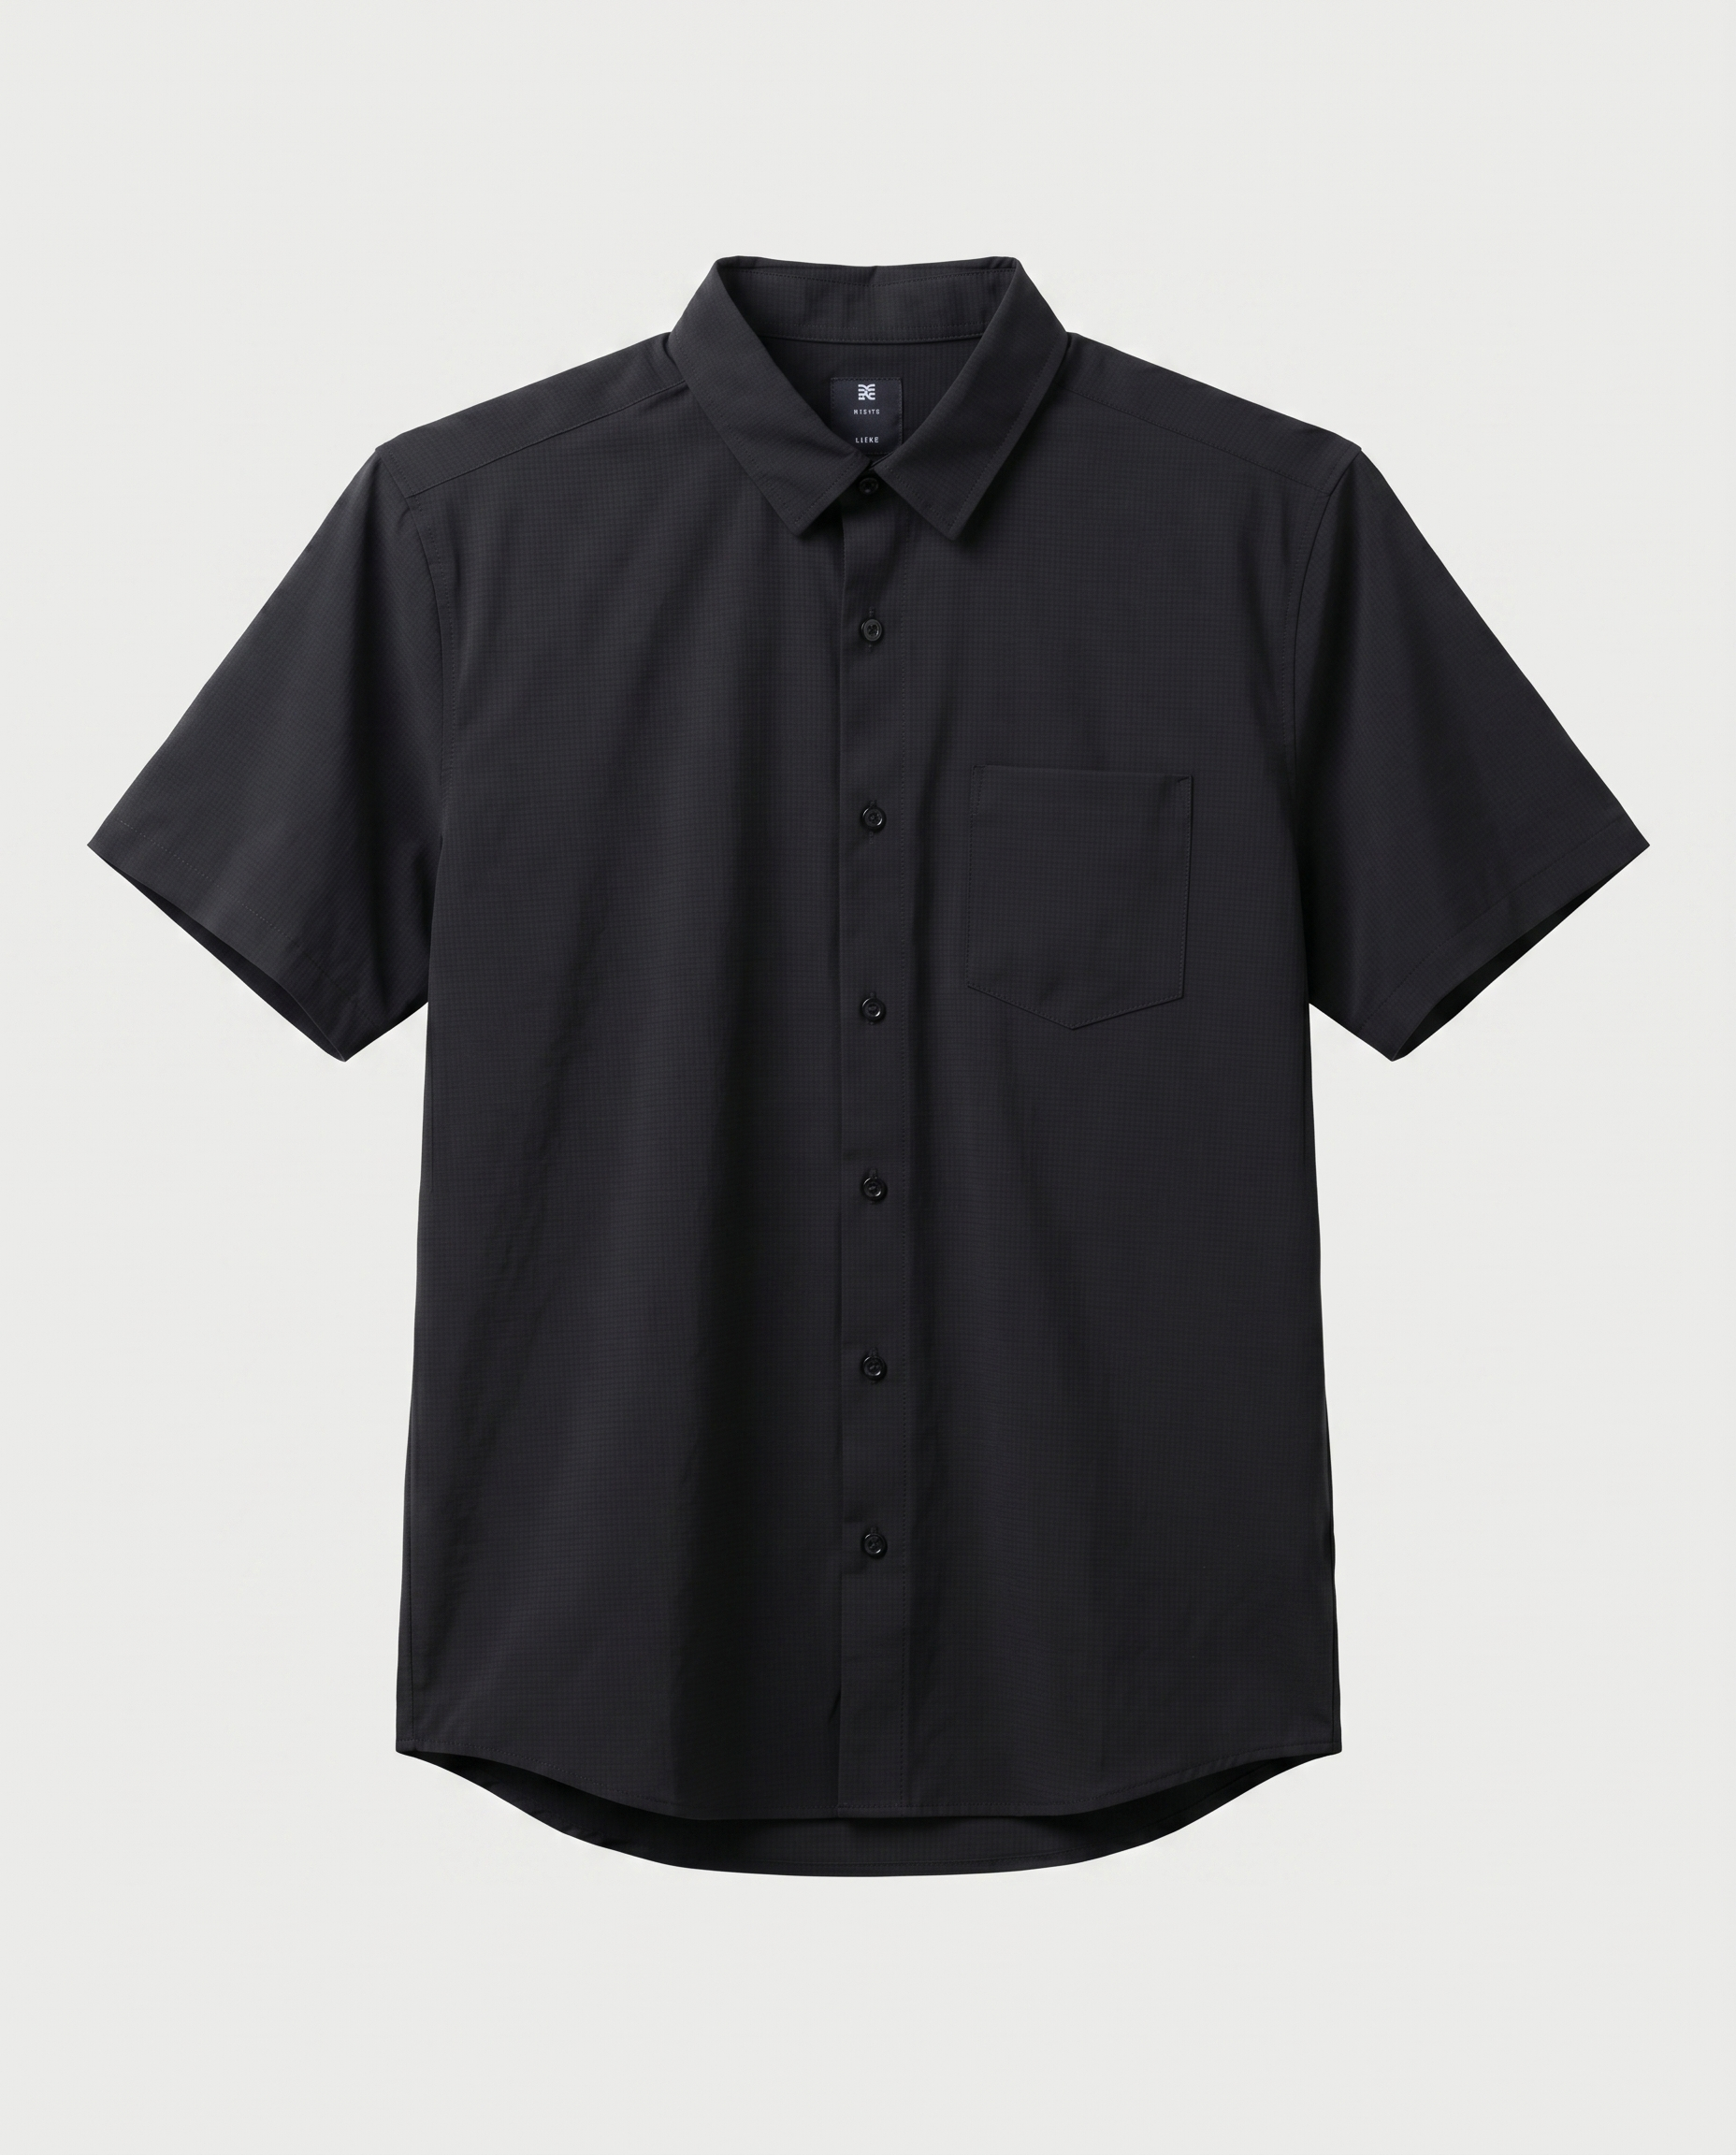
Shirt Length (Back to Hem)
Finally, measure from the base of your neck (where the collar meets the back) straight down to where you want the shirt to end. For most men, a dress shirt should reach the mid-point of the buttocks, so it stays tucked in when moving or sitting. If you plan to wear your shirt untucked, you may want a shorter length for a neater, casual look.
Fit Styles Explained: Which One Is Right for You?
Dress shirts come in different fit styles and choosing the right one makes a huge difference in comfort, movement, and overall appearance. As a tailor, I always match the fit to the person’s body shape, lifestyle, and preference. Here’s a breakdown of the most common dress shirt fits for men.
Classic Fit
This is the most traditional fit, roomy, comfortable, and ideal if you prefer a looser shirt. A classic-fit dress shirt gives you more space in the chest, shoulders, and waist. It doesn’t hug the body and is perfect for men who want a timeless look without feeling restricted. Great for formal settings or everyday office wear.
Slim Fit
Slim-fit shirts are cut closer to the body, offering a more modern and tapered look. The sleeves are narrower, the chest is snugger, and the waist is slightly trimmed. If you're lean or have a toned build, this style gives a sharp silhouette without feeling too tight. It’s the go-to choice for many younger professionals or style-conscious guys.
Extra Slim Fit
This fit is even tighter than slim fit, ideal for very slim body types or those who want a sharp, European-style cut. It hugs the torso and arms closely, which means it’s less forgiving in the midsection. Only choose this if you’re confident in the fit and measurements, because there’s little room for error.
Athletic Fit
Made for guys with broad shoulders and a narrow waist, the athletic fit is tailored for a "V" shape. It provides room in the chest and upper back while tapering down at the waist, preventing the shirt from ballooning around the midsection. If you work out or naturally have this body type, this fit keeps you looking clean and structured.
Big & Tall Options
If you're taller or have a broader frame, standard sizing won’t always work. Big & Tall dress shirts offer longer sleeves, extended shirt lengths, and more room in the torso and neck. These shirts are specially designed to provide comfort without looking oversized or sloppy. Always check size charts or custom sizing if you fall into this category.
Common Mistakes to Avoid While Measuring
Even a small error in measurement can lead to a poor fit, tight collars, short sleeves, or extra fabric that bunches. Here are the most common measuring mistakes I’ve seen, and how to avoid them like a pro.
Measuring Too Tight or Too Loose
One of the biggest issues is pulling the tape too tight or letting it hang too loose. A tight tape squeezes the skin and leads to shirts that feel restrictive, especially around the neck and chest. On the other hand, if you measure too loosely, your shirt may end up baggy and unflattering. The key is to let the tape rest gently against the skin, snug, but not tight.
Pro tip: For areas like the neck, you should be able to fit one to two fingers between the tape and your skin. That gives just the right amount of breathing room.
Not Accounting for Arm Movement or Flexibility
Sleeve length should include some flexibility. If you measure your arms straight down or fully stretched out, you’ll miss the natural bend that happens during daily movements. Always measure your sleeve with the arm slightly bent at the elbow just like when you're typing or reaching for something. This way, the shirt allows free movement without riding up or feeling short.
Forgetting Posture and Natural Stance
Your posture plays a huge role in how a shirt fits. If you slouch or stand too straight while measuring, your measurements will be off. Always stand naturally, shoulders relaxed, arms by your side, looking straight ahead. This gives the most accurate representation of your real posture, and your shirt will feel right when worn throughout the day.
Using Shirt Measurements vs Body Measurements
When it comes to getting the right fit for your dress shirt, you have two main approaches: measuring your body or measuring an existing shirt. Each has its own benefits and best-use cases. As a tailor, I often use both, depending on the client’s needs. Let’s break it down.
When to Measure an Existing Shirt
Measuring a well-fitting shirt is a great shortcut, especially if you’re happy with how that shirt fits. It’s also a helpful method if you’re buying a shirt online and want to match it to something you already own. Simply lay the shirt flat and measure key areas like the collar, sleeve length, chest, and shirt length. This gives you a ready reference to compare with product size charts.
Use this method when:
-
You don’t have someone to help measure your body
-
You want to reorder a similar size
-
You’re unsure about brand sizing differences
Pros & Cons of Shirt-Based Sizing
Pros:
-
Fast and easy, especially with a reference shirt
-
Helps when switching brands or shopping online
-
Useful for visual comparison
Cons:
-
Doesn’t account for body changes (weight gain/loss)
-
Shirt fabric may have stretched or shrunk over time
-
Can lead to errors if the shirt doesn’t fit perfectly to begin with
Adjusting for Shrinkage and Fabric Types
Different fabrics behave differently after washing. Cotton shirts, for example, often shrink slightly after the first few washes. That's why it's important not to add “extra room” yourself when measuring, we tailors already build that into the final size.
When measuring:
-
Cotton and cotton blends tend to shrink up to 3–5%.
-
Non-iron or synthetic fabrics shrink less but can feel tighter due to lack of stretch.
-
Always measure a shirt after it has been washed and dried at least once for the most accurate fit.
Conclusion
Getting the perfect fit for your men’s dress shirt starts with accurate measurements and understanding your body shape. Whether you choose to measure your body or an existing shirt, paying attention to key areas like the neck, sleeves, chest, and waist ensures comfort and style.
Remember, fit styles vary, classic, slim, athletic. So pick one that suits your lifestyle and look. Avoid common measuring mistakes by staying relaxed and allowing for natural movement. With the right tools and knowledge, you can confidently order shirts that feel tailored just for you, making a great impression every time.